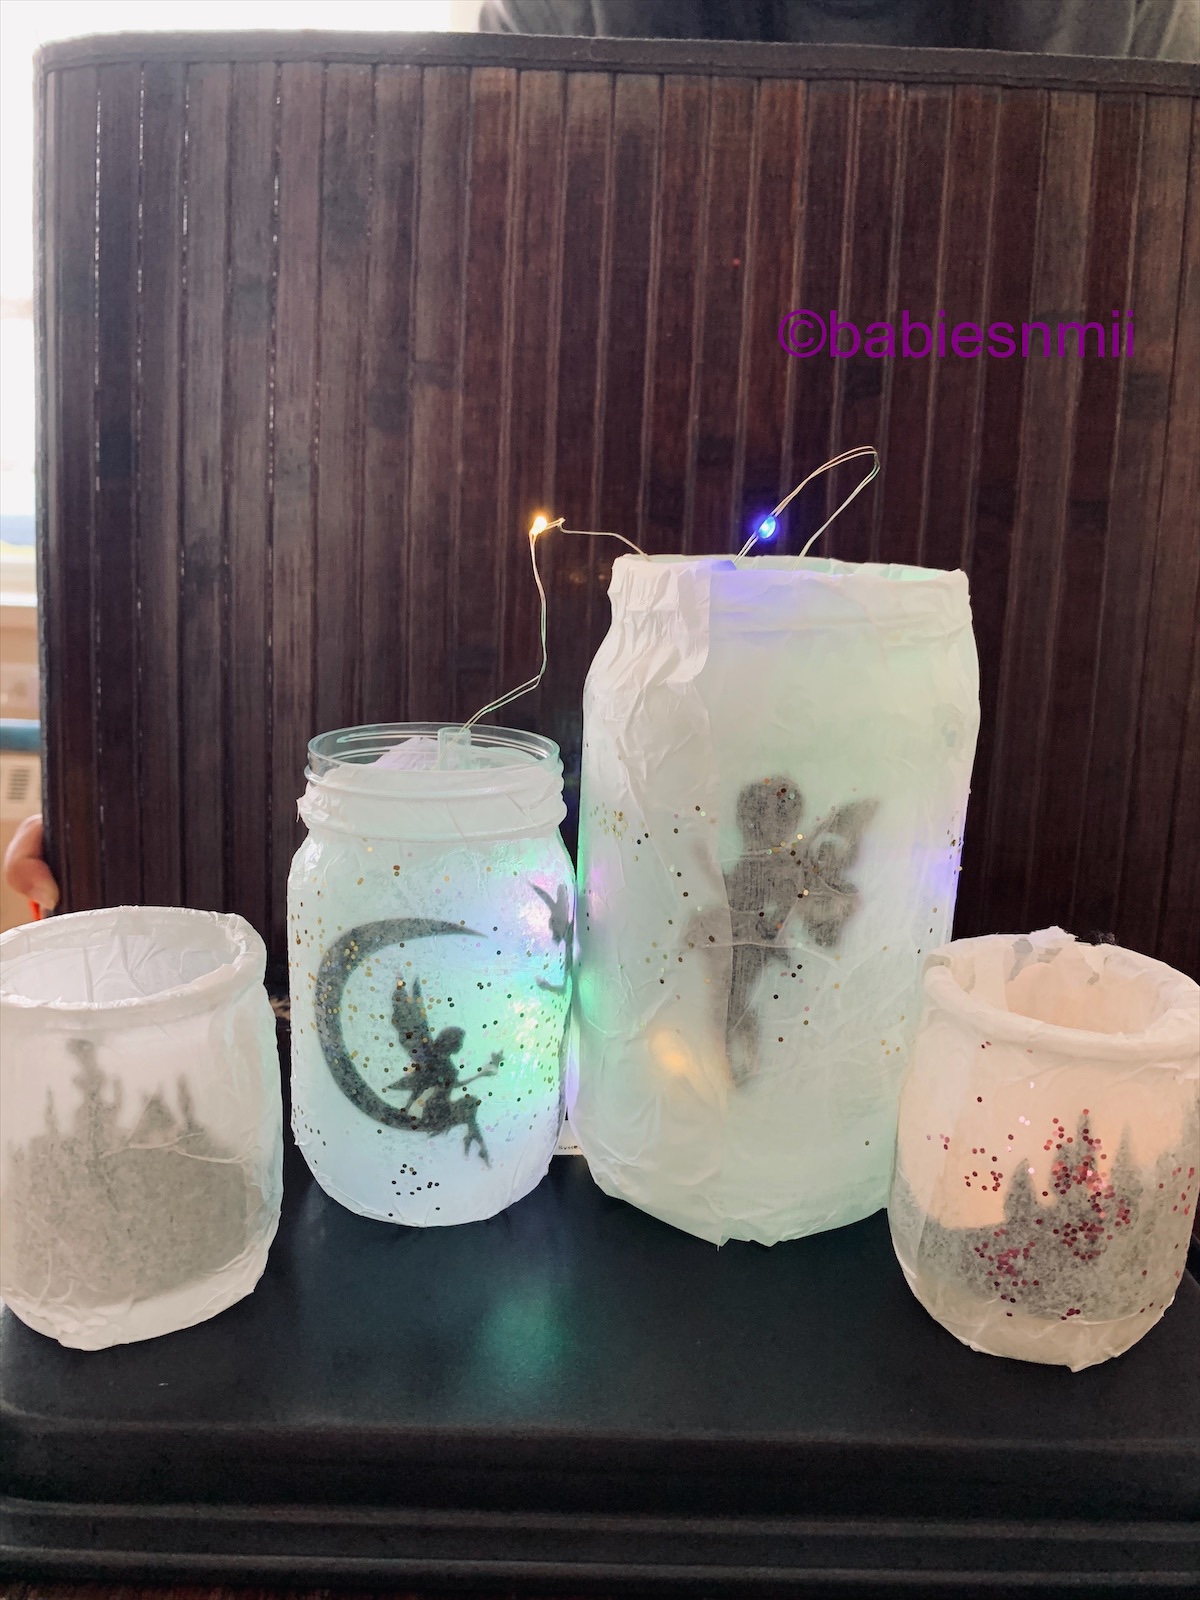
When I made the Fairy Jar Night Light and shared the pictures with friends and family, everyone loved it and asked me to share the instructions on how I made it. I was amazed to see how incredibly magical this Fairy jar is and how everyone loved it! Here is how you can make your own.
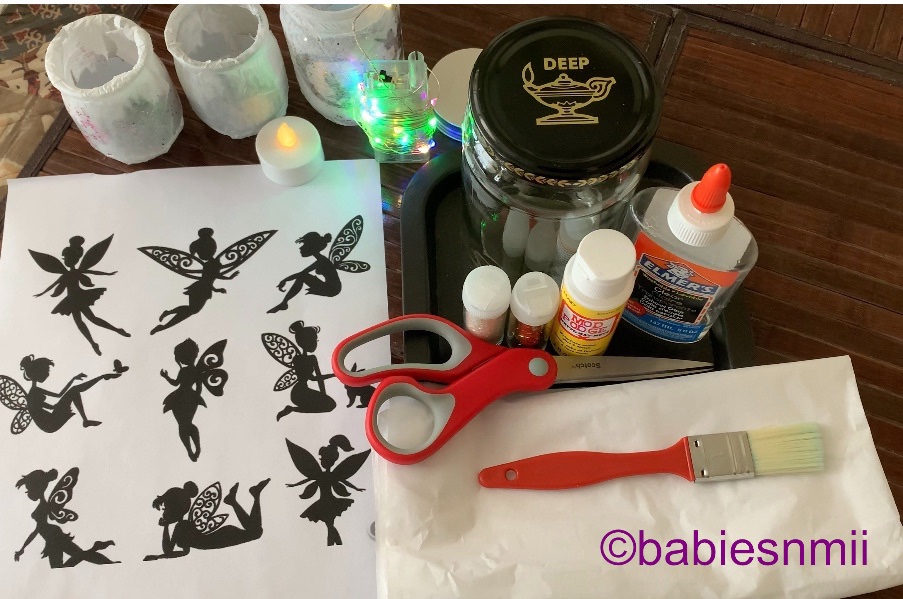
Things you need:
- Clear mason jar/glass bottle
- Gift Tissue paper (white color preferred); if you do not have tissue paper, you can use parchment paper
- Mod Podge/heavy duty glue
- Scissors
- Thick paint / sponge brush to apply glue
- Fairy silhouette or any other designs you like in silhouette (I used this silhouette design)
- Battery-operated tea light candle or light series
- Glitter/sparkles for decorations (optional)
DIY Instructions:
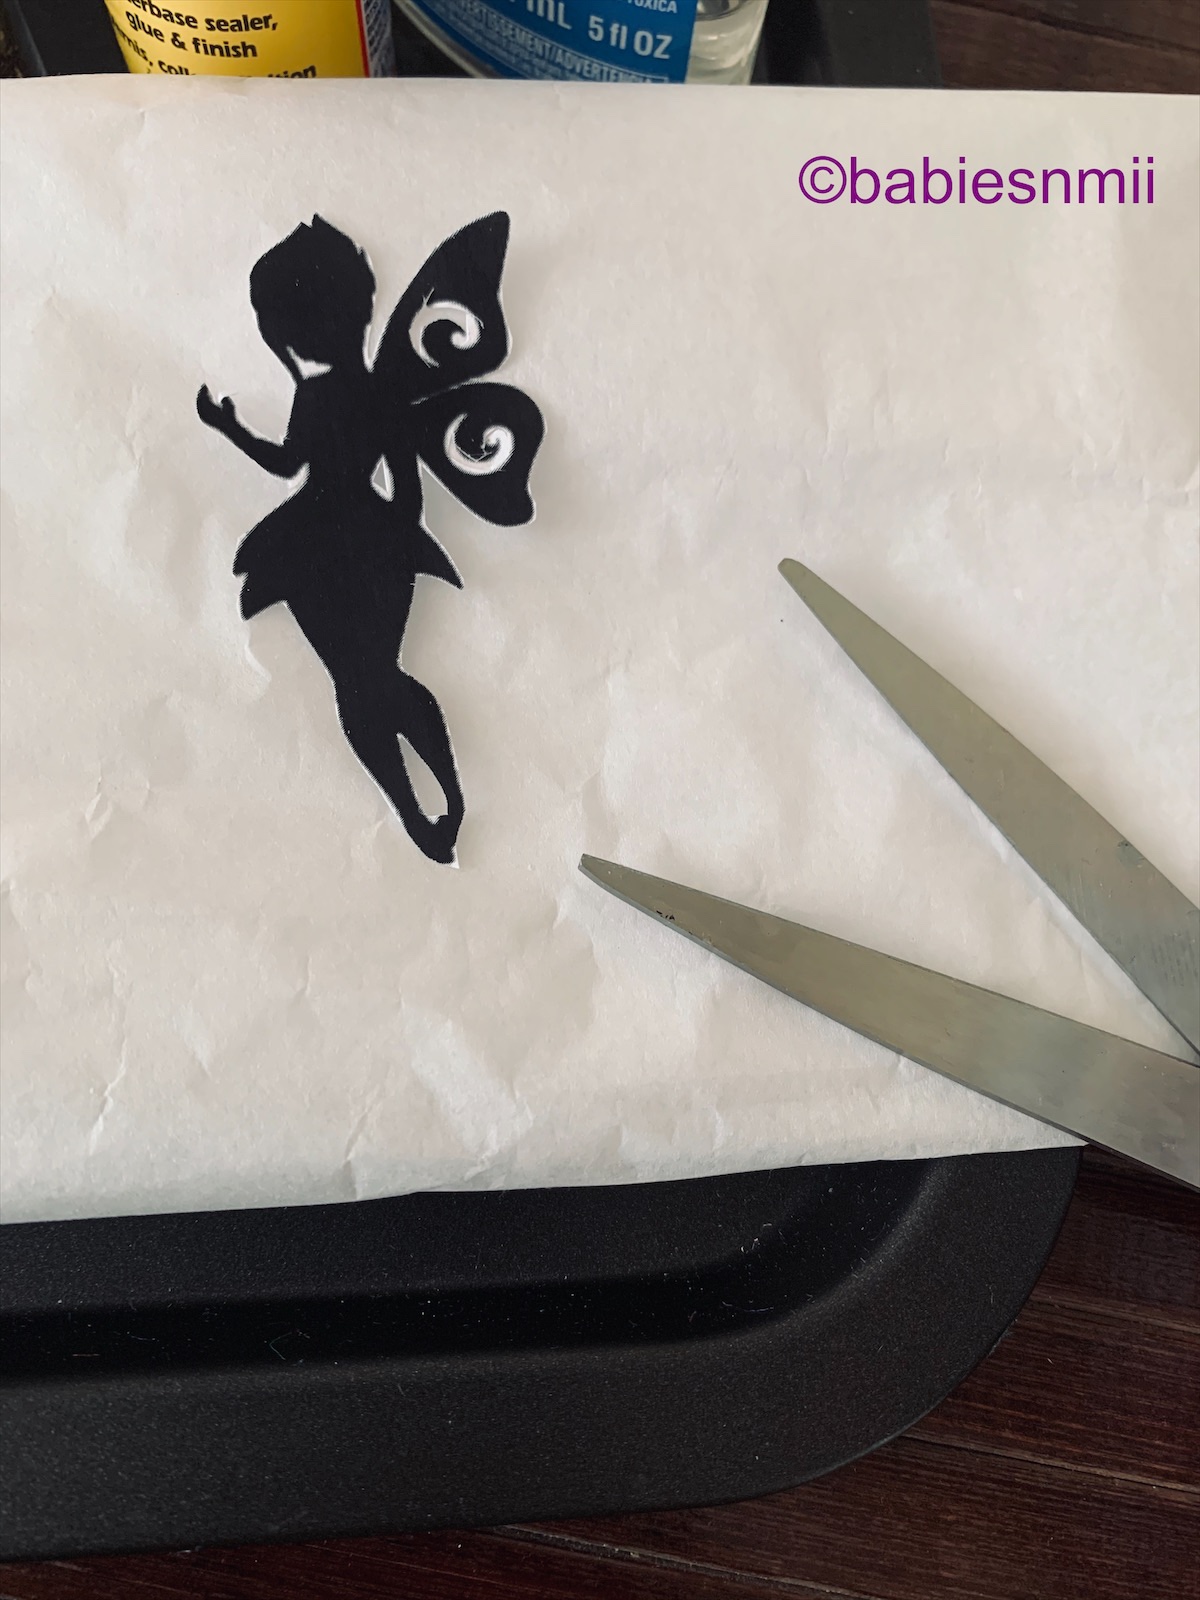
- Print the silhouette design you want to use and cut through the edges
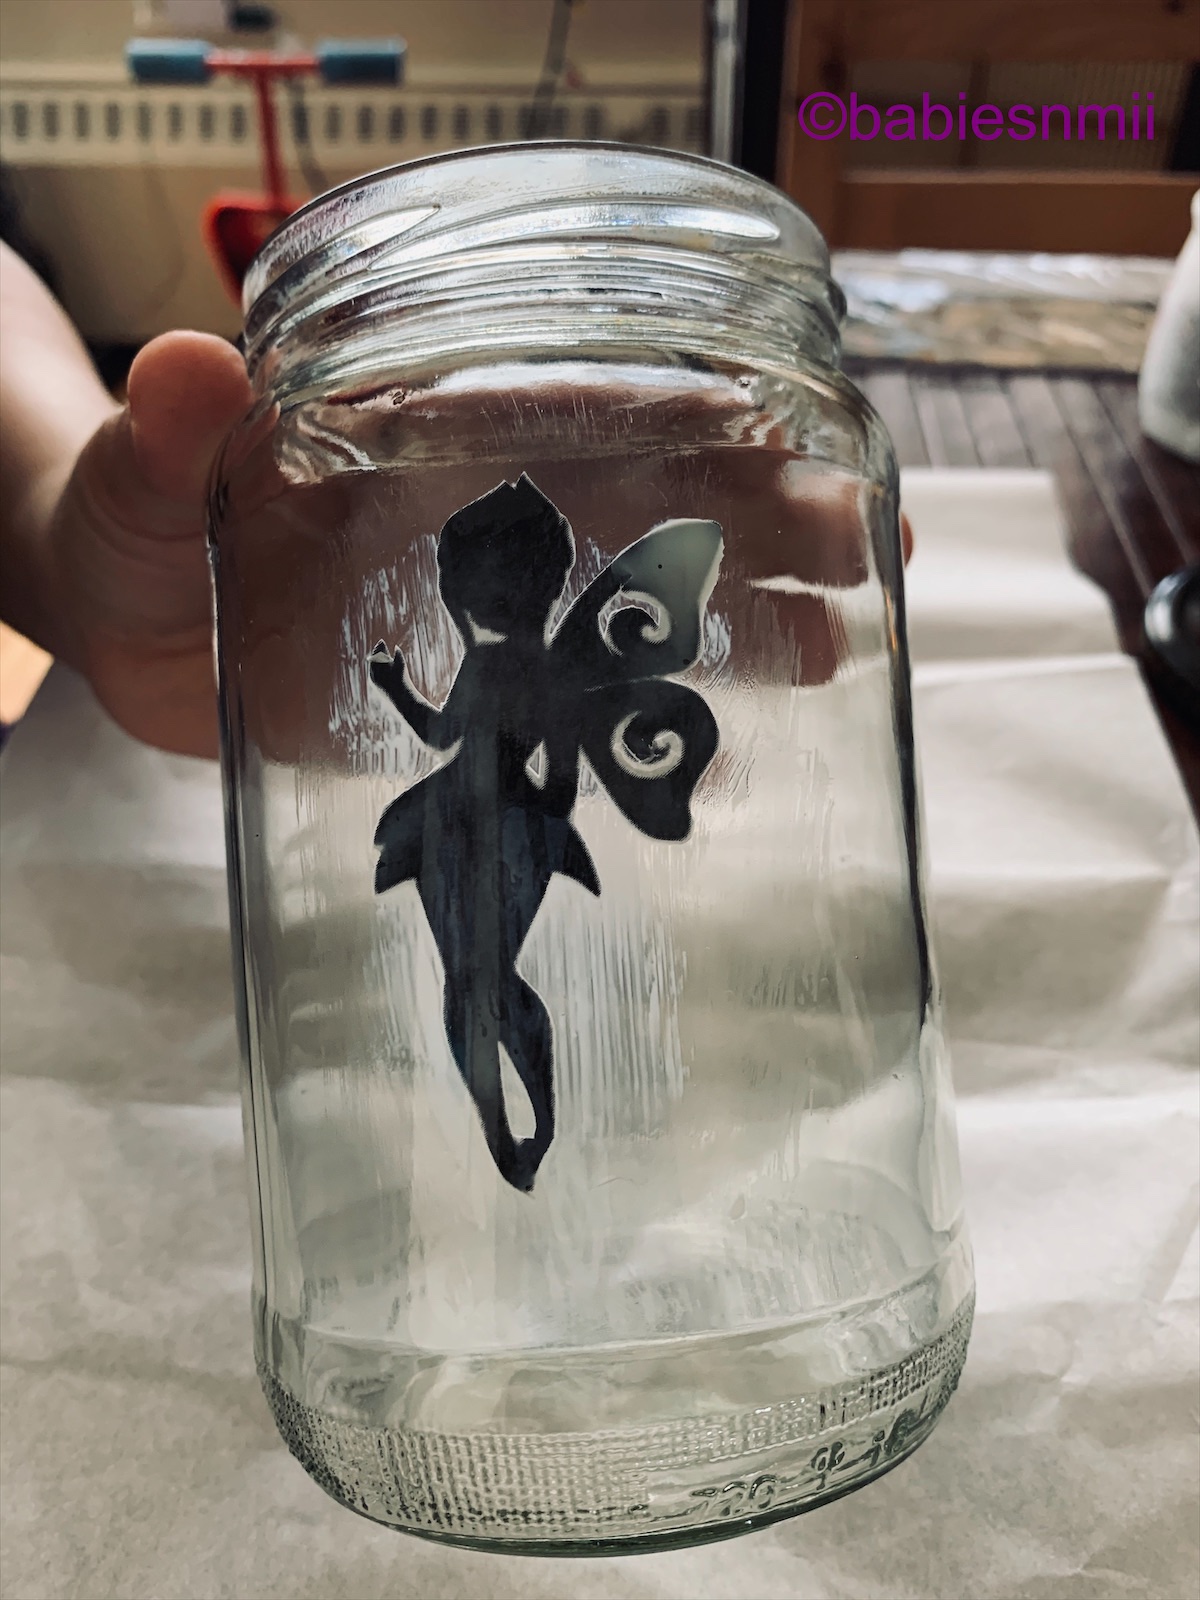
- Lightly Apply the glue on the cut out (you should apply the glue at the front of the silhouette)
- Now apply glue on the inside of the mason jar/bottle where you’d like to paste the silhouette; make sure to apply glue evenly
- Carefully paste the silhouette inside the mason jar/bottle
- Now apply the glue on the outside of the mason jar/bottle
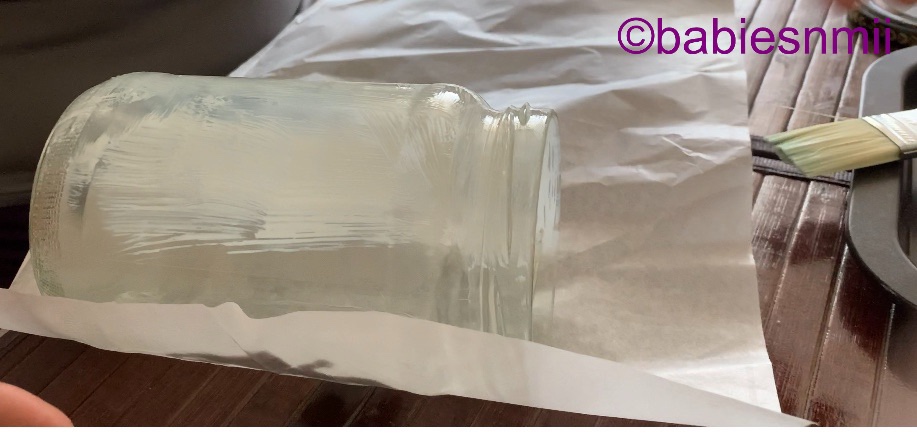
- As you apply the glue, start wrapping the tissue paper on the mason jar/bottle
- Once full jar/bottle is covered in tissue paper, let it dry
- Apply a thin layer of glue on the tissue paper (you may make designs with the glue as it will be decorated in the next step)

- Sprinkle glitter/sparkles on the glue and let it set
- Pat the mason jar/bottle lightly to remove extra glitter or sparkle
- Slowly place the battery-operated tea light or light series to enjoy your Fairy Jar Night Light
I hope you enjoy making your own night light and be sure to share your creations on Babiesnmii Facebook page!
For a video tutorial on Fairy Jar Night Light, check out this video and don’t forget to subscribe Babiesnmii on Youtube for more videos.


One thought on “DIY Fairy Jar Night Light”